This tessellation project has been a very successful lesson. You know, one of those lesson that you want to keep re-visiting because it's interesting for the kids and because they are also great at it.
Steps:
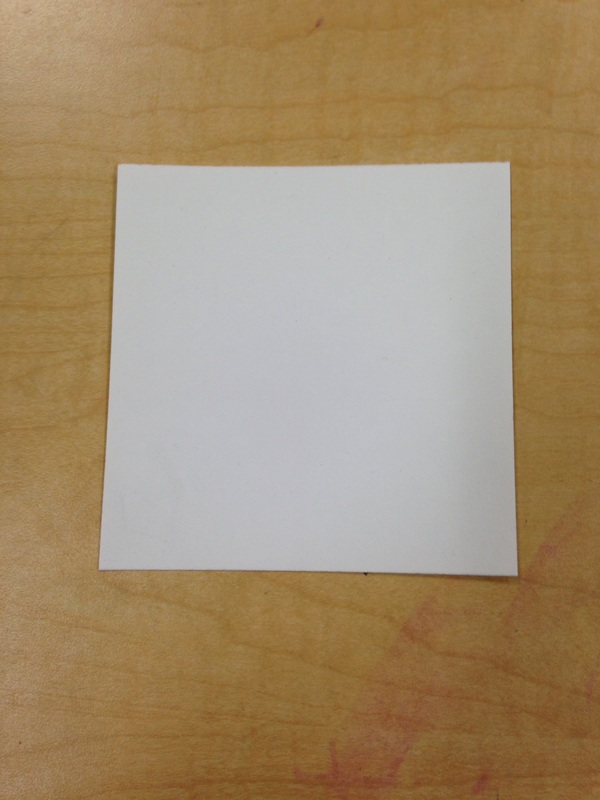
*Take a 4x4 inch square and have students draw an interesting line from the top left corner to the bottom left corner. Don't make it too complicated because the next step is to cut!
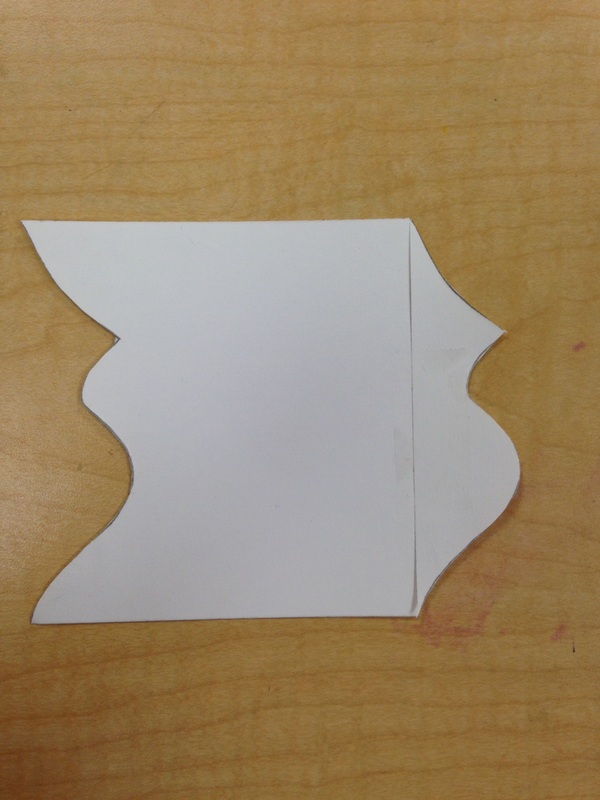
*Cut on the line. Take the cut piece and slide it directly across and attach it to the other side with a piece of tape. Do not flip the paper over or alter it in any way. If the piece does not slide across exactly as it was cut, the pieces will not line up when you go to trace.
*Create a new line that will be drawn at the top of the square. Start slightly away from the top left corner and end up exactly on the top right corner.
*Cut on the line and drag the piece directly downward and attach with a piece of tape.
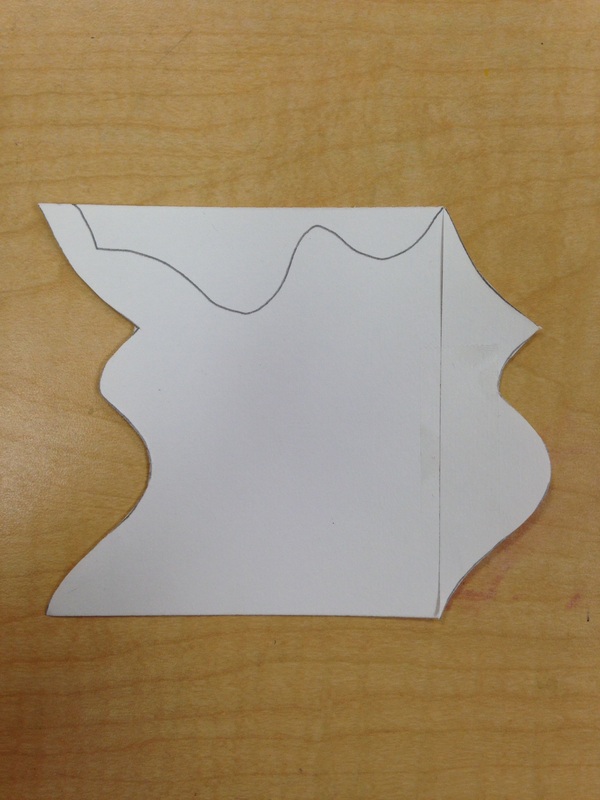
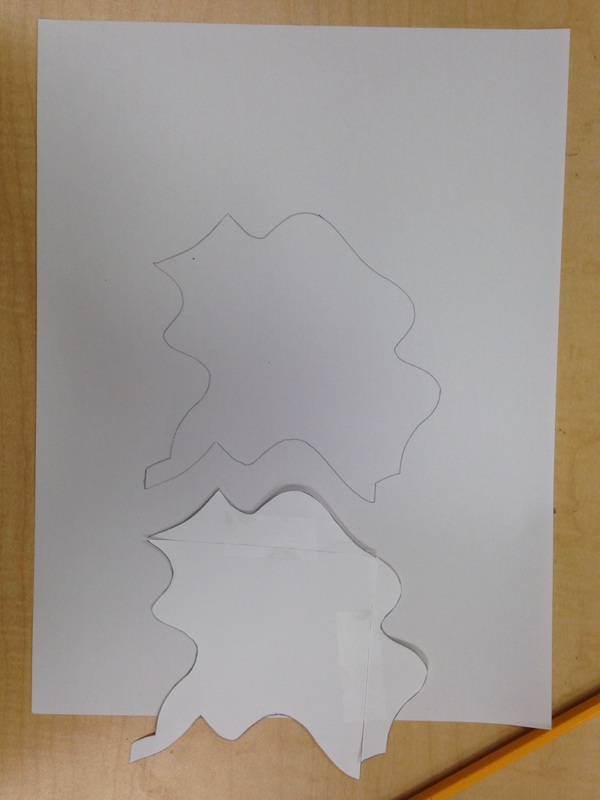
*Have the students trace the tessellation they created once on the backside of their paper (side with their name and grade). This will be where they can decide what their tessellation looks like! They will turn their paper in different directions to help them decide what their tessellation looks like.
*While they are deciding what the tessellation looks like, they will trace it on the front side. This part is very tricky as the kids can get quite confused.
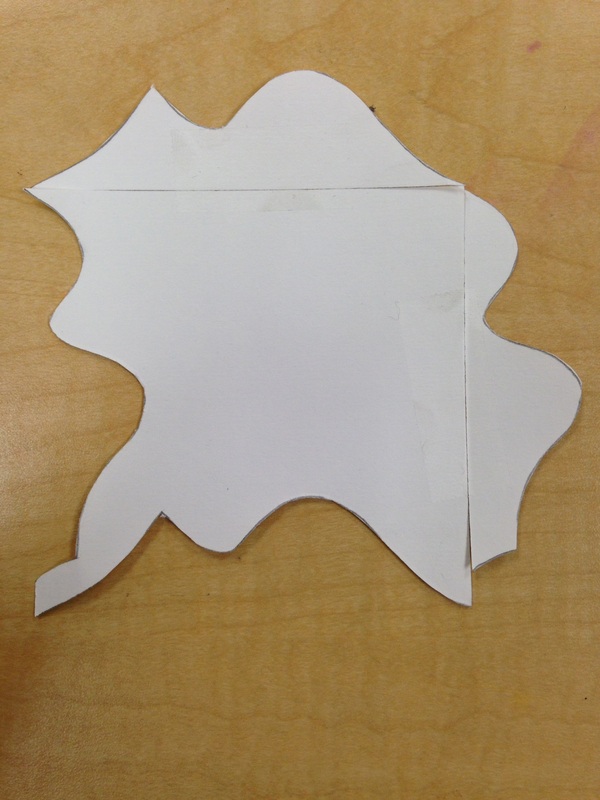
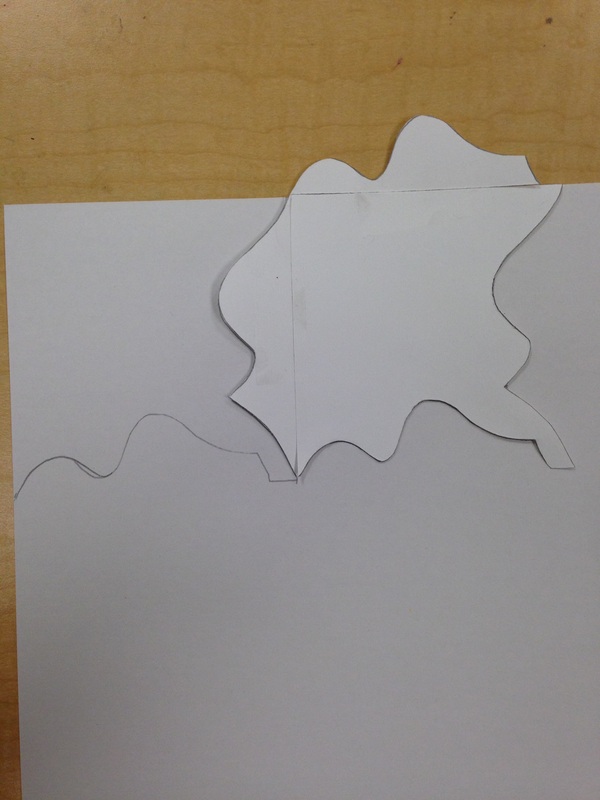
*The two pieces you cut off and taped down can be folded back so that you can see the corner. This corner should be lined up with the top left corner of the students paper. Begin to trace.
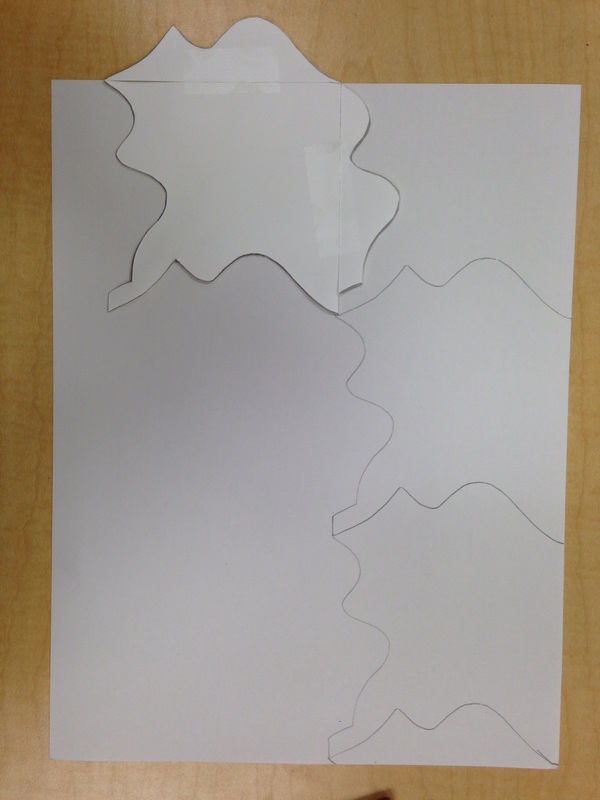
*Once the first trace is done, slide the tessellation over, unfold the left flap, and match it up to the first tracing. Keep tracing until you run off the paper.
*Bring the tessellation down so the left flap is hanging off the left side of the paper and the top flap is now matched up with the very first tessellation you drew. Follow the top tessellations and now keep going until your whole paper is filled up!
*Have students design their tessellation on the single traced image on the back of their paper. Once they have that planned out, they can transfer that idea to all of the tessellations on the front.
*Color it in and trace over pencil marks with sharpie!
***Students will forget they need to match the corner of their tessellation with the top left corner and they will trace it wrong, just be prepared! :) Nothing that can't be fixed with an eraser.
***Students will also not understand that if they have already decided what their tessellation is on the back of their paper, when they trace it onto the front they may have to trace their tessellation in a different direction (because you HAVE to like the corners up!). Once they understand that it doesn't matter which direction the tessellation faces (you can just flip your paper around accordingly) it makes more sense to them.
Steps:
*Take a 4x4 inch square and have students draw an interesting line from the top left corner to the bottom left corner. Don't make it too complicated because the next step is to cut!
*Cut on the line. Take the cut piece and slide it directly across and attach it to the other side with a piece of tape. Do not flip the paper over or alter it in any way. If the piece does not slide across exactly as it was cut, the pieces will not line up when you go to trace.
*Create a new line that will be drawn at the top of the square. Start slightly away from the top left corner and end up exactly on the top right corner.
*Cut on the line and drag the piece directly downward and attach with a piece of tape.
*Have the students trace the tessellation they created once on the backside of their paper (side with their name and grade). This will be where they can decide what their tessellation looks like! They will turn their paper in different directions to help them decide what their tessellation looks like.
*While they are deciding what the tessellation looks like, they will trace it on the front side. This part is very tricky as the kids can get quite confused.
*The two pieces you cut off and taped down can be folded back so that you can see the corner. This corner should be lined up with the top left corner of the students paper. Begin to trace.
*Once the first trace is done, slide the tessellation over, unfold the left flap, and match it up to the first tracing. Keep tracing until you run off the paper.
*Bring the tessellation down so the left flap is hanging off the left side of the paper and the top flap is now matched up with the very first tessellation you drew. Follow the top tessellations and now keep going until your whole paper is filled up!
*Have students design their tessellation on the single traced image on the back of their paper. Once they have that planned out, they can transfer that idea to all of the tessellations on the front.
*Color it in and trace over pencil marks with sharpie!
***Students will forget they need to match the corner of their tessellation with the top left corner and they will trace it wrong, just be prepared! :) Nothing that can't be fixed with an eraser.
***Students will also not understand that if they have already decided what their tessellation is on the back of their paper, when they trace it onto the front they may have to trace their tessellation in a different direction (because you HAVE to like the corners up!). Once they understand that it doesn't matter which direction the tessellation faces (you can just flip your paper around accordingly) it makes more sense to them.


 RSS Feed