Farren Johnson...in the art room
  • Home
  • Art Lessons
  • Art Articles

Of course...more elementary ;)

3/2/2015

1 Comment

 
Picture
Just after I say I need more high school art projects on here....I HAVE to post a few elementary projects. Oh, well! 

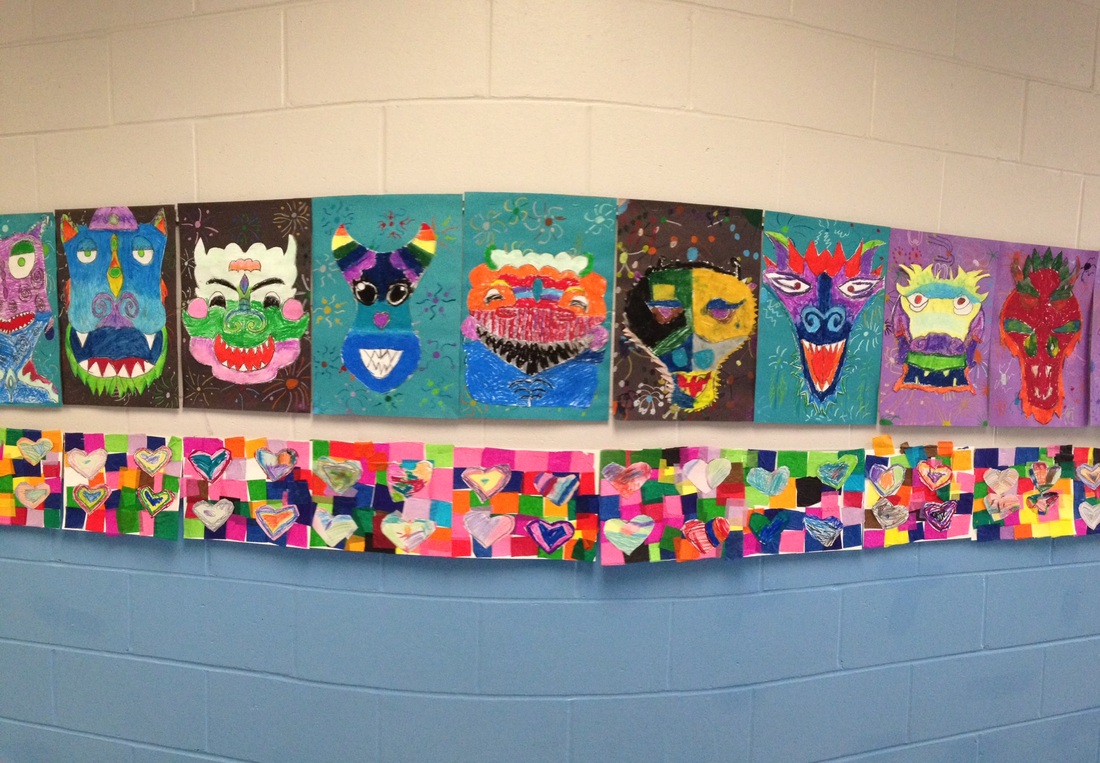
My 4th graders learned about the Chinese New Year and all of the special activities and traditions that go along with celebrating this holiday. The dragon is a very important symbol, showing power, strength, and good luck. During the New Year there are many parades which dragons dance down the streets! The fourth graders created their own Chinese dragons by folding a large piece of paper in half length wise (or hotdog style if you prefer). They created only HALF of the dragons face. They then traced their pencil marks with a black crayon. Folding the paper in half again (so the crayon is in the inside) they traced their design so that the black crayon transferred over onto the other side of their paper, making their dragon head SYMMETRICAL. They then traced the second half with crayon again (because it is very light from tracing) and colored their dragons in with oil pastels!
We also added a firework background for fun.

The older students really loved seeing these and were so complementary of the 4th graders!
The kindergarten classes looked at the artworks of Jim Dine and his very popular paintings of hearts. They got to create their own Jim Dine inspired heart project (since it was around Valentine's Day, why not?!). They traced four hearts onto a piece of white paper. Then each table group had a different type of art material; one table had oil pastels, one had crayons, one had markers, and the last had colored pencils. They were given a few minutes to color in one heart with that material. Then we switched tables! Once all their hearts where colored, we set those aside and glued tissue paper squares down to another white paper. They hearts were then cut out and glued on top of the tissue paper. Its really fun to see how they colored in their hearts!
1 Comment

high school and middle school 

3/2/2015

3 Comments

 
Hello All! It has come to my attention (many times actually) that I do not post a whole lot on my high school and middle school end of projects. For this I am terribly sorry! I see three high school classes in the morning and then zoom off to the elementary where I see 6 classes, and for that I'm afraid my picture taking does not get done as much at the high school!!! So very sad, I know. Also, for middle school, I only get to teach 7th grade for one quarter, which I am teaching currently, so I will not really have much for middle school projects ever. Again, very sad! But I am going to do my best to post some high school things right now and add more high school things along with middle school projects that we have done this quarter!
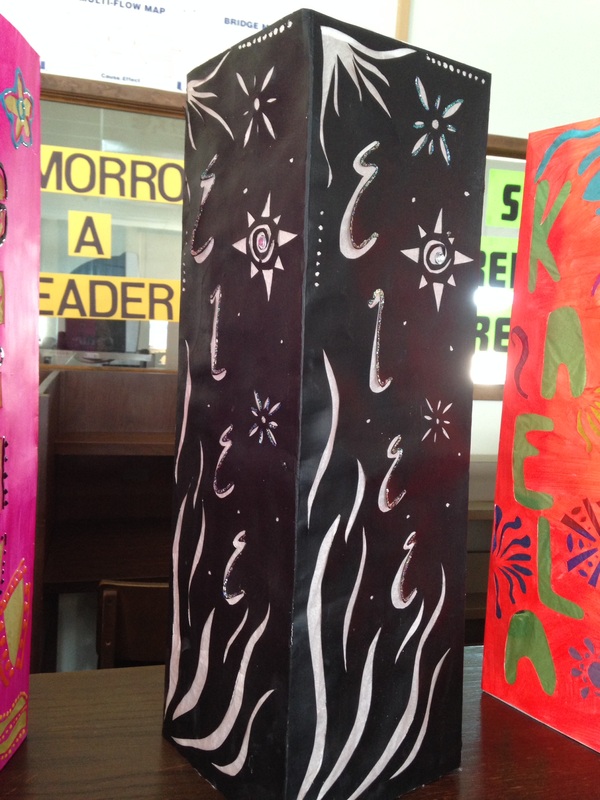
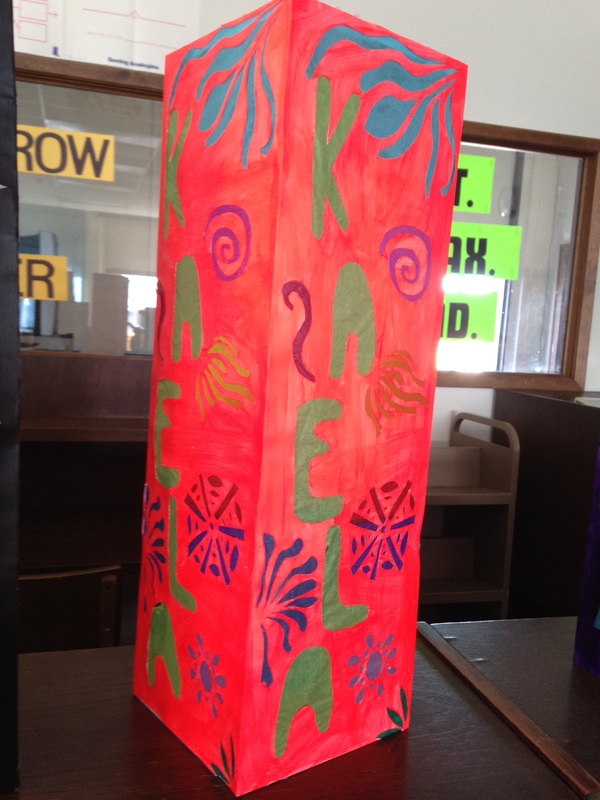
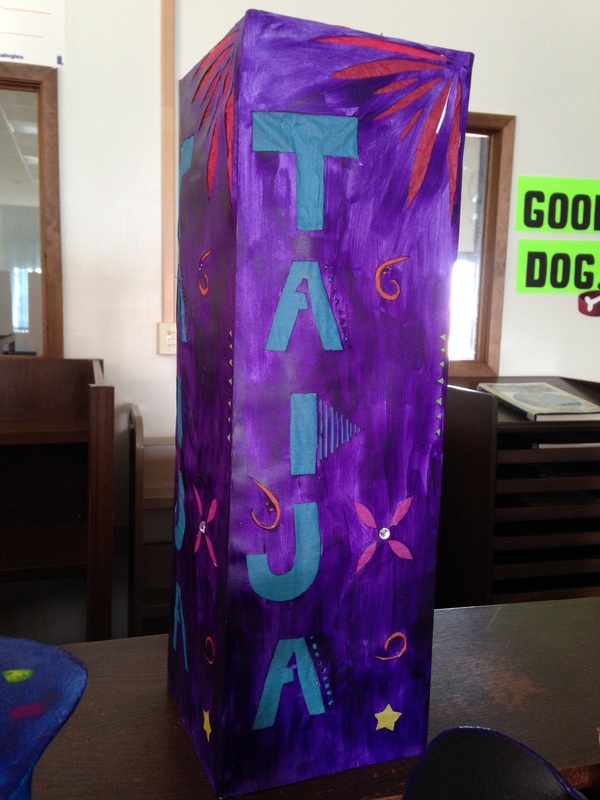
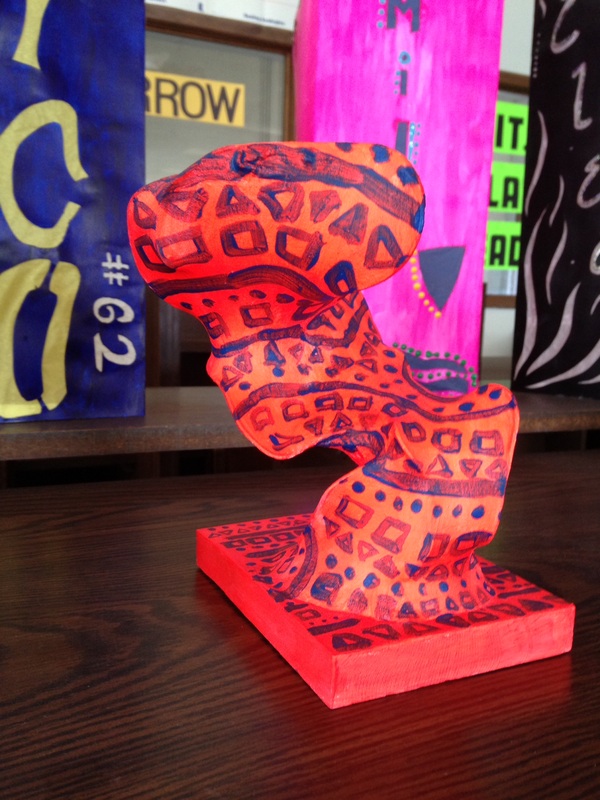
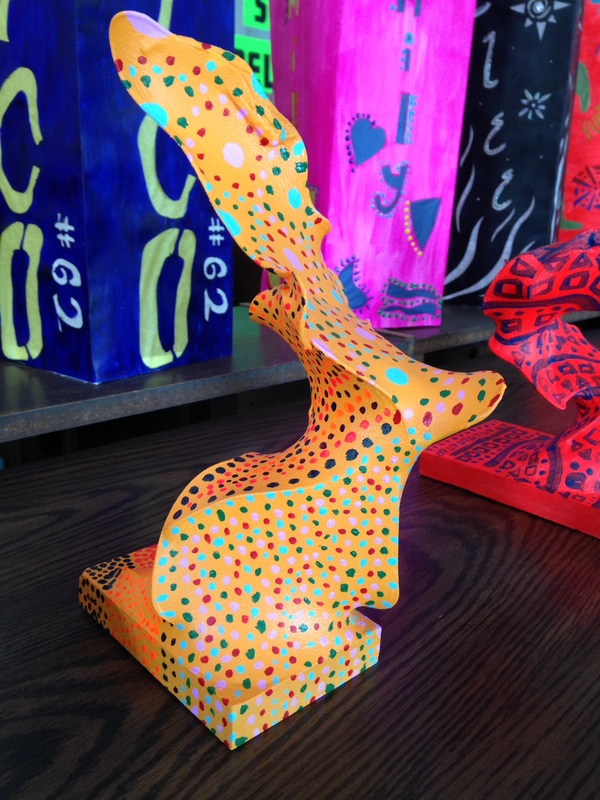
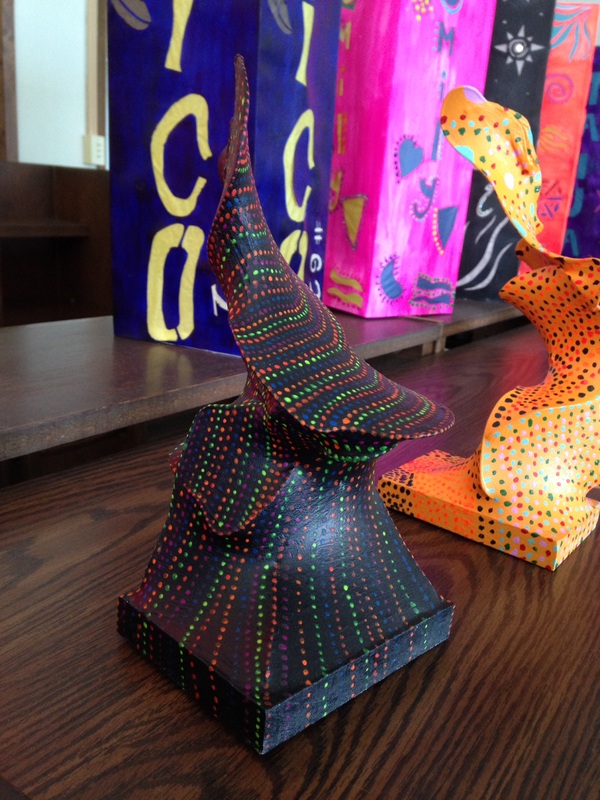
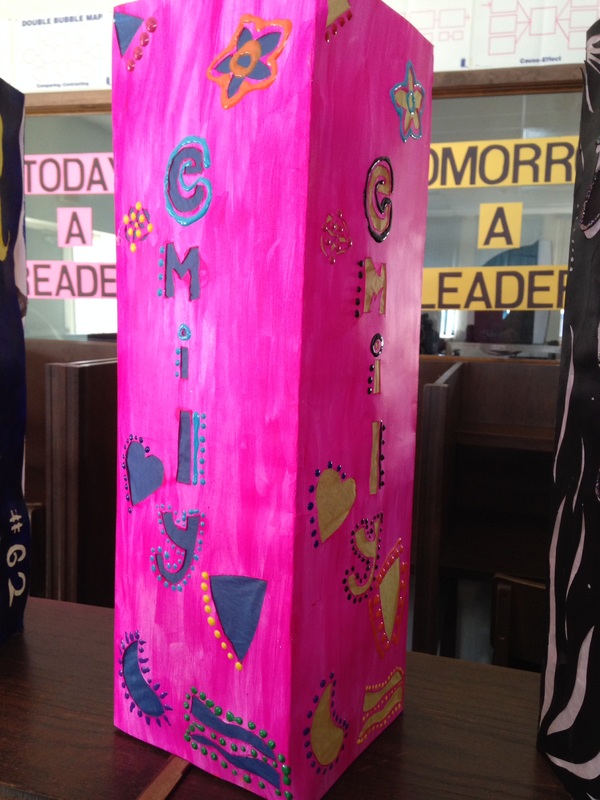
For now, I have some of my high school 3D class projects they did 2nd quarter. They created a name design sculpture where they had to design their name in some interesting way and add decorations as well. They then transferred this design to a large poster board that had been folded into four sections. Their name design went onto each side, they cut everything out with an exacto knife, added tissue paper to fill up the spaces, and also added other fun elements to their name designs as well. 

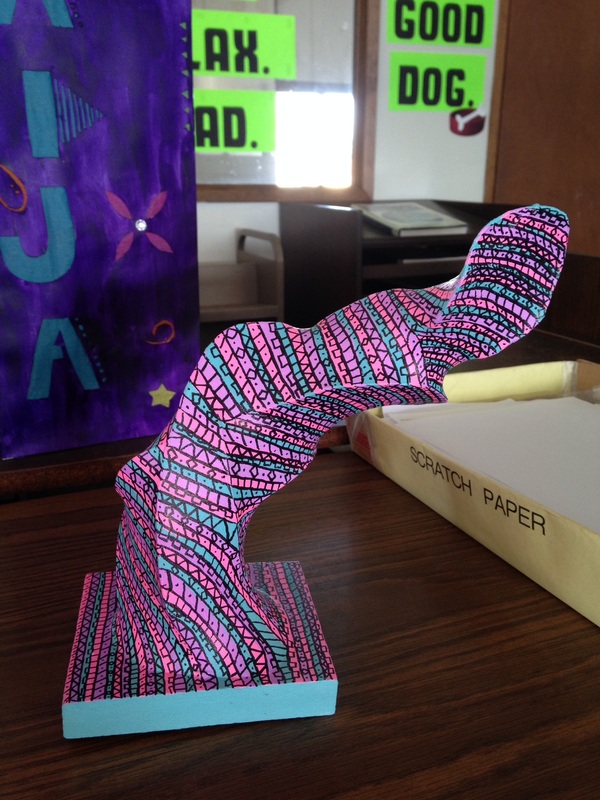
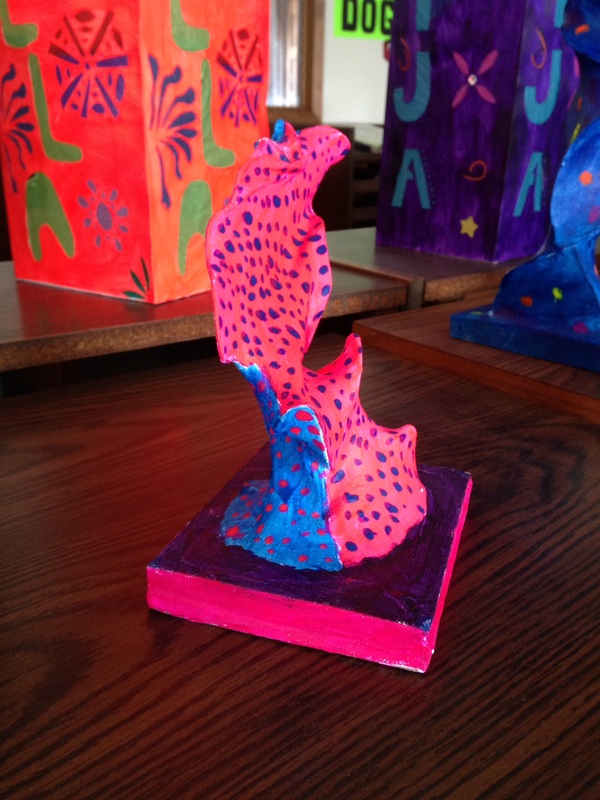
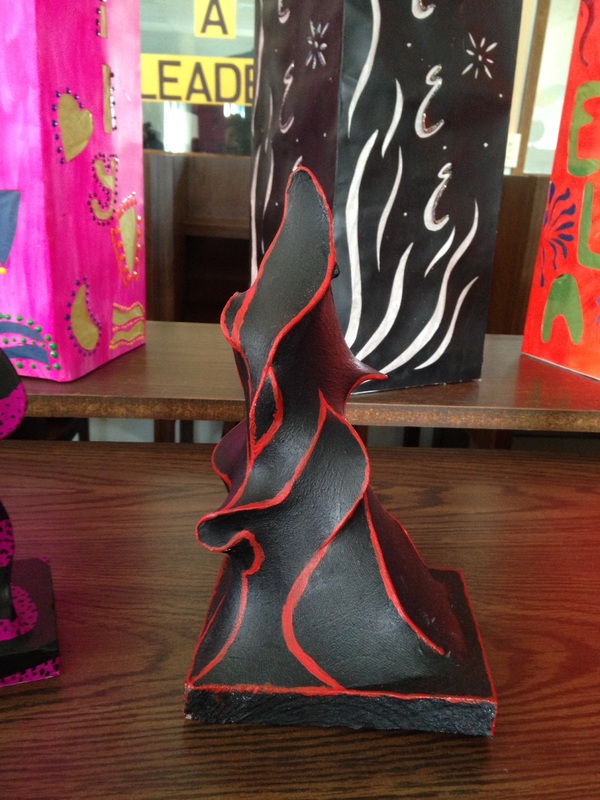
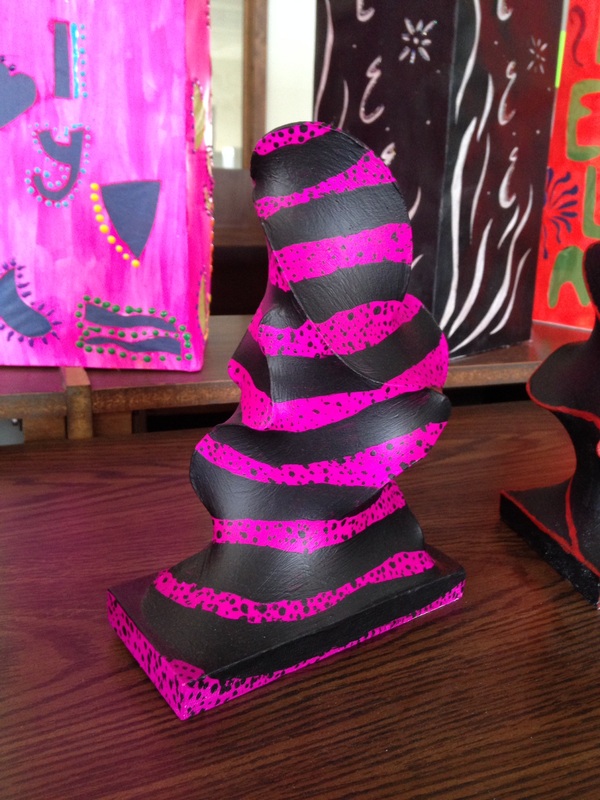
The wire sculptures are something I have seen so many times but just didn't know how to go about doing it! So I finally just bought a box of panty hose and told my 3D class we were going for it! And they turned out SO COOL! I was really happy with what they came up with for that project. 

I WILL get more pictures of high school stuff (and some middle school things) and post them!
3 Comments

So very sorry! update from Dec. and jan.

2/5/2015

0 Comments

 
Hello everyone! So sorry I have not posted the past few months. Things have been very busy with the holidays and school starting back up. My art schedule this year is also very challenging so it's hard to keep up with EVERYTHING! Anyway, here are some projects my kiddos have done over the past few months.

Here are some kindergarten lessons. First they created small clay slabs. This is the first time they have gotten to work with clay, so it is very exciting! They each get a small ball of clay and smoosh it down into a "pancake". We then talk about texture and how you can feel the texture of different surfaces. So after they created their small pancake slabs, they used all different kinds of tools to create texture on their clay. After they were fired, they painted them with water colors.
While the kinders were waiting for their clay to dry and be fired, we worked on another texture project. We created turkeys in celebration of the upcoming holiday. We talked about how the texture on our clay could be felt but when you see texture and can't feel it, it's called implied texture. So they used texture plates to create the feathers! As you can see some students didn't quite get the gluing of the feathers, but to me it's okay and they are young learners :) 


Fifth grade students created these wonderful kaleidoscope cut images! We talked about the invention of kaleidoscopes and a local Iowa couple that crafts handmade kaleidoscopes (Peggy and Steve Kettelson of northeast Iowa). They started off with a 9x9 inch black paper for a background. The first color layer is a 7x7 inch square with the other layers of squares getting smaller (5x5 and 3x3 if I remember correctly). Each square the students did had to be folded up as if they were cutting paper snowflakes. So the largest paper was folded and cut and then glued down in the middle of the black background. The next largest paper was folded, cut, and glued on top of the first cut paper, and so on. The extra outside decorations are made from the two smallest square options (just cut into 4 parts and glued symmetrically around the outside). 

The fifth grade also create Aurora Borealis night scenes! These turn out so beautifully! We looked at the Aurora Borealis and talked about the science behind why the colors show up in the northern skies at night. They created their own borealis with chalk pastels and then created a landscape silhouette over top with black tempera paint. 
More updates soon! I'm not done with posting projects yet so those will show up in the next few days! 
0 Comments

More from dec. and jan.

2/5/2015

0 Comments

 
Fourth Grade has been working hard at creating some really awesome stuff! They created a Gustav Klimt inspired tree by painting in their background with neon colors, drawing their tree in pencil overtop, painting in the tree with black tempera paint, and then adding fun details with oil pastels. Some students even added sequence pieces on their paintings.

Because we have such an amazing winter here in Iowa (HA! Snow, snow, snow, oh and COLD!) We decided to create mug still life paintings! Each table got a different mug and the students had to really concentrate on drawing that mug exactly as they see it (not how they think they see it). We talked about how the top and bottom of the mug curve because you are looking at it from an angle, so they made sure to get the curve of their mugs just right. Once their mugs were drawn, they could add whatever they wanted to to their drink (marshmallows, candy canes, whip cream, sprinkles, you name it!). Then they colored in their pictures. The mug was one color, the table was another color, and the background was a third color. Then we talked about patterns and how they could add a different pattern to each new section of their picture. They painted their patterns with neon paints. 
First grade classes created these AWESOME abstract sculptures! The students learned about sculptures and how they are 3D, which means you can see them from every angle, walk around them, and sometimes even interact with them! We talked about how sculptures used to really be used to show important people or tell important stories. Then we discussed how sculptures can be abstract, which means it doesn't really represent anything specific and uses lines, shapes, and colors. So we looked at pictures of abstract sculptures and picked out the colors and shapes that the students saw. We then started to assemble our own abstract sculptures! They used small pieces of randomly cut cardboard and glues the pieces in anyway they desired. Once they were glued the students decided to paint their sculpture one base color. We then added fun patterns over top. 
Second grade students created these beautiful snowflakes! This has become a FAVORITE project of mine. I did it for the first time last year and it was a huge success, so why not repeat?! We talked about how snowflakes form and the shapes that they have. We watched a video of a scientist who goes out snowflake hunting in order to photograph these beautiful flakes and we also watched a short video of snowflakes forming. Looking at different pictures of snowflakes, we noticed that they have radial symmetry (when something has the same images, shapes, designs or parts that rotate around a center point. Ex: a kaleidoscope). So the challenge for the students was to create a snowflake that had radial symmetry. 
How we did this: We first took a 6x6 inch square sheet of white paper and folded so there were two creases that made a plus and two creases that went from corner to corner making an X. Those folds will be where the arms of the snowflakes are drawn. So each student traced the fold lines and then started designing their snowflakes so that they were unique but still showed radial symmetry. We then painted over our pencil marks with blue paint. To add a little more to these snowflakes, we added two larger blue squares as a boarder. The students picked up their darker blue paper which was slightly bigger than the snowflake (7x7 inch). They placed the snowflake down and traced it so they knew where to draw their boarder. They were instructed to create patterns in their boarder and we talked about different patterns they could do. Once the boarder was complete they glued the snowflake to the dark blue boarder. Then they were ready for the light blue boarder (8x8 inch) and they followed the same process as before. 
Kindergarten classes read the book The Mitten by Jan Brett. Each student designed their own mitten by adding fun patterns. We discussed how a pattern is made when shapes, lines, and colors are used repeatedly (circle, square, circle, square). They were very quick to point out that A-B-C-A-B-C was a pattern :) They cut out their mittens and glued them down to blue paper and finally added snowflakes with a small piece of cardboard and white paint. 
Here is the display case where I got to put up some student work for the month. And also the infamous Mona Lisa who keeps changing her disguise. For the month of December she was a Christmas tree and this past month she has been bundled up for winter. I have a few nifty elves at school that like to add things to my Mona Lisa....so she ended up getting some Patriots garb in honor of the super bowl.  
0 Comments

Recycling calendar winners!!!

11/16/2014

0 Comments

 
Out of thirteen students that are chosen for the Celebrate Recycles Day Everyday calendar contest, we had SEVEN students chosen! SEVEN! That is so awesome! I am extremely proud of my kids.

The awards ceremony was held on November 12th and each student was called up on stage to receive a certificate as well as $10, a t-shirt made out of recycled plastic bottles, a calendar, calendars for their entire class, and their poster. One student is chosen out of the 13 for the cover and that student receives $100. And for the second year in a row one of my students was chosen for the cover! I can't tell you how excited I was for this student and for all of my students. 

Here are the winning posters and my kiddos at the reception.
The pictures go in order of: the cover then how the posters are placed in the calendar (according to grade and alphabetically by name). I had one kindergartener, one first grader, one second grader, two fifth graders, and two sixth graders. 
0 Comments

Mona lisa turkey

11/16/2014

0 Comments

 
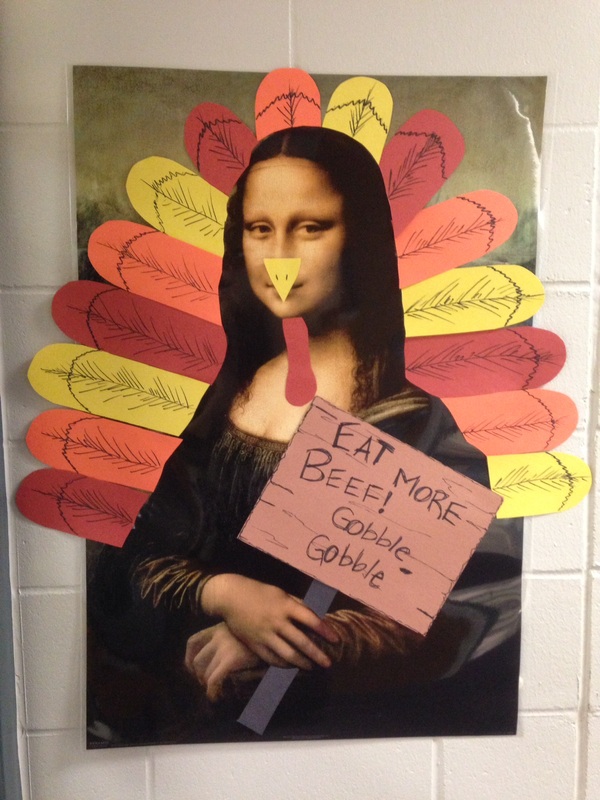
For the month of November, Mona Lisa has transformed herself into a turkey. 
Picture
0 Comments

Dia de los muertos

11/16/2014

0 Comments

 
Day of the Dead is celebrated widely in Mexico and is a time of celebration and remembrance of  loved ones who have passed away. This holiday is not meant to be spooky or scary (as it is associated with Halloween but is actually very different) but a happy and joyous time! Families will clean and decorate cemeteries, cook the food that their loved one liked when they were alive, build altars in their home to celebrate those people, have street fairs and parties, as well as sit up in the decorated cemeteries all night to sing and tell stories of their relatives. 

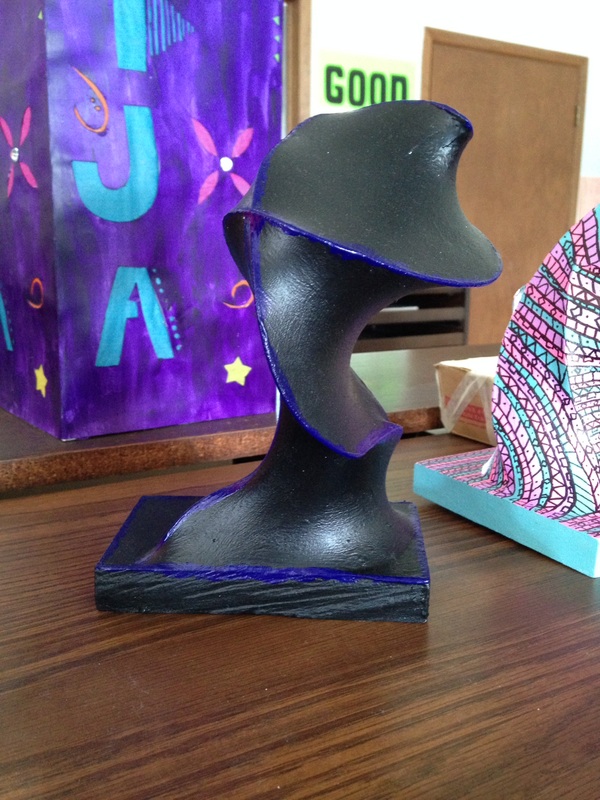
At the high school we did two different lessons. My 2D class created a stencil that was inspired by Day of the Dead sugar skulls. My 3D class created plaster masks that they painted and decorated in the Day of the Dead sugar skull style. 
0 Comments

3rd grade one point perspective

11/16/2014

0 Comments

 
This is a fun project for kids who haven't done perspective before. We start off by re-visiting what a horizon line is and then add in the vanishing point what what that does in a picture. Students look at various pictures and point out where the horizon line is and where the vanishing point is. We then drew out our own landscapes using a horizon line, vanishing point, and placing 5 rows going back to the vanishing point wherever they liked on their paper.

We then turned those rows into a fall harvest with pumpkins, corn, apple trees, squash, and anything else we could think of! The students could add animals, houses, trees, anything they wanted to to fill up the extra space in their picture.  
0 Comments

Graffiti art

11/16/2014

0 Comments

 
This has been an amazing project for my 6th graders. They absolutely love this project and when the other kids see it these hanging in the hall they ask "What grade did this?! When do we get to do it?!" So you know it's awesome! We looked at graffiti art and discussed if we felt like it was art or if it was "junk". We also talked (a lot) about vandalism and what that means and how graffiti can be done legally. We looked at popular street artists Banksy and Shepard Fairey before we began to create a graffiti inspired name picture. You can really see the student's personalities in their pictures!

0 Comments

Glue Pumpkins

11/16/2014

0 Comments

 
The first grade classes learned how to draw pumpkins from observation. I set out a pumpkin at each table and the students worked very hard on creating the most realistic pumpkin they could. After they were drawn, they used glue to draw over top of their pencil marks. Once the glue was dry they colored in their pumpkins with watercolor pencils and added water over top of that. These turned out so great!
0 Comments
<<Previous

    Author

    My name is Farren Johnson and I am a K-12 Art teacher.

    Archives

    February 2015
    November 2014
    October 2014
    September 2014
    March 2013

    Categories

    All
    1st Grade
    2D High School
    2nd Grade
    3D High School
    3rd Grade
    4th Grade
    5th Grade
    6th Grade
    Architecture
    Day Of The Dead
    Elementary Art
    Fall
    Glue Art
    Graffiti
    High School Art
    High School Drawing
    Kindergarten
    Leaves
    Mona Lisa
    One Point Perspective
    Op Art
    Piet Mondrian
    Printmaking
    Pumpkins
    Recycling Project
    Sub Lessons
    Sugar Skulls
    Tape Shapes
    Tessellations
    Watercolors
    Weaving

    RSS Feed


Powered by Create your own unique website with customizable templates.